
In the deep end of cinematic opposites
It’s been quiet here on the blog for a while now and for a good reason, not much has happened recently. I took quite a long break from the project from end of the year to mid-February and have only in the last few weeks begun to gain speed again. I’ve been mostly focused on getting the edit right based on feedback from the people who have seen the very raw edit and also my own notes. The process has involved digging through existing material to find alternative shots, tweaking the edits to improve the flow of scenes, fixing continuity errors and sometimes completely tearing apart existing scenes and starting the edit from scratch.
During the editing process I have often felt that “this scene could use a close up or two, I wish we had shot more last autumn”. In the beginning it was only one shot that I thought would be missing but since then the list went up to 6 shots that would be nice add to the edit to drive home some detail that otherwise would be easily missed and in one case hard to interpret as the original close-up was very poorly lit and the objects in it almost unnoticeable which led many of the test viewers confused about certain elements of the story.
But, here’s a problem, or a challenge more like 😅 Now that we are still firmly in winter in Finland, the shooting location covered in knee deep snow and once that melts we wont have dark nights for many months how do I get the shots that I want? Well, the way it has always been done in movies where day has been made to look like night, summer like winter and winter like summer. And in this case, making my apartment look like outdoors for a couple of seconds.
And how did you do that?
As difficult and inconvenient it was to set the story in a dark forest at night, the concept has proven to be very forgiving and flexible when it comes to choosing locations. Darkness hides all the boring stuff and you can choose to illuminate the exiting parts. And that worked to my advantage on these additional shots as well as we only needed some couple of close ups.
Step 1: collect all the props
Luckily I’ve been quite organised during this project and have kept everything in boxes and haven’t been in great hurry to get rid of anything. I think I will hold onto these props even after the short is finished and released, who knows what I will need them for 😅
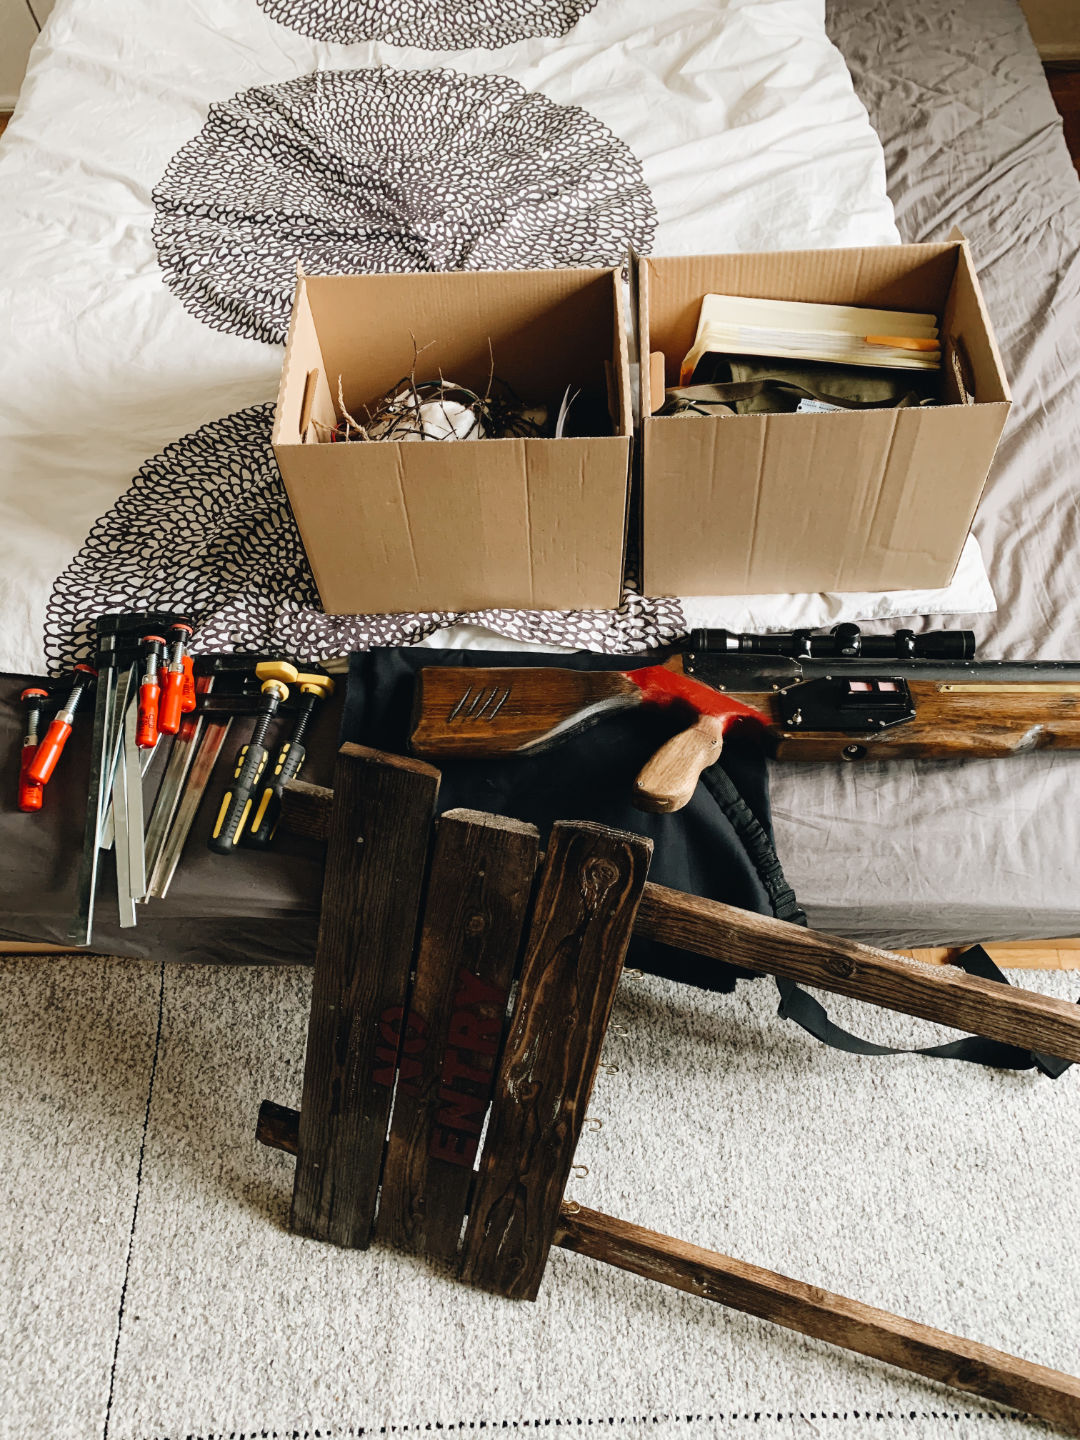
Step 2: let there be darkness
I went to the fabric store and bought three meters of the cheapest black fabric that I could get my hands onto. Then hung it on my bookshelf to act as the black background.
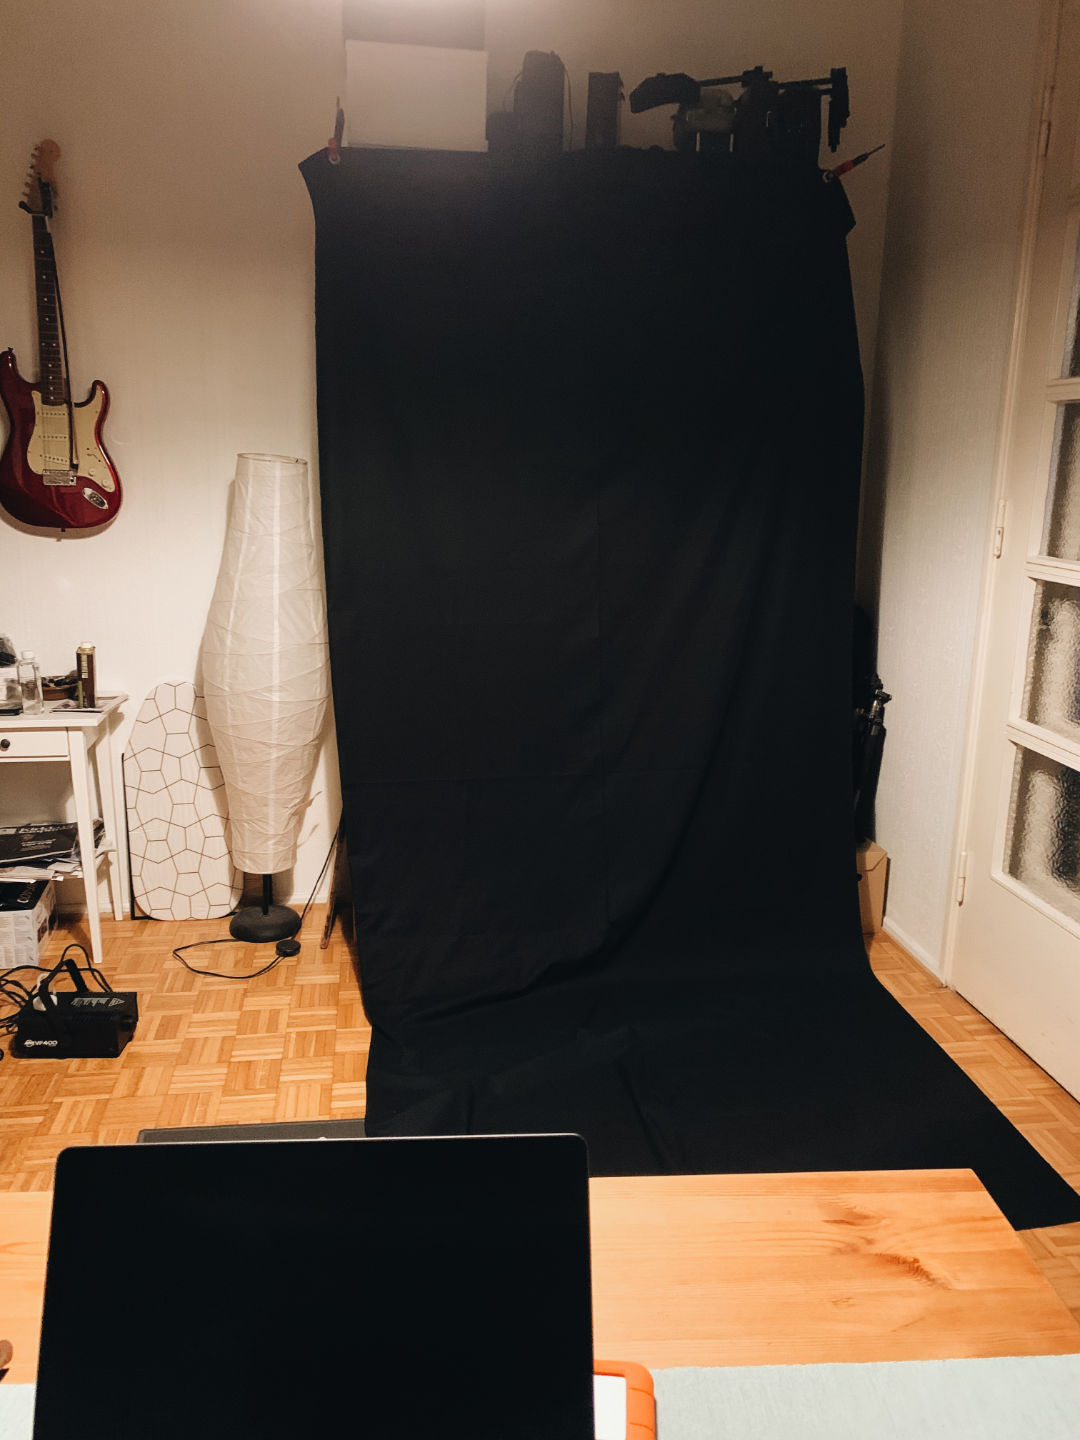
Step 3: bring your own forest
This was an actual lucky break. I had boxed lots of organic material from the forest to be used as material to record foley sounds. This proved to be useful in these additional shots as I was able to throw some moss and sticks on the floor so that it would help sell the illusion if there would be some blurry greens and browns in the background to break the flatness of the black background. To be honest, not sure if any of it ended up on the final shots but the idea was nice anyway.
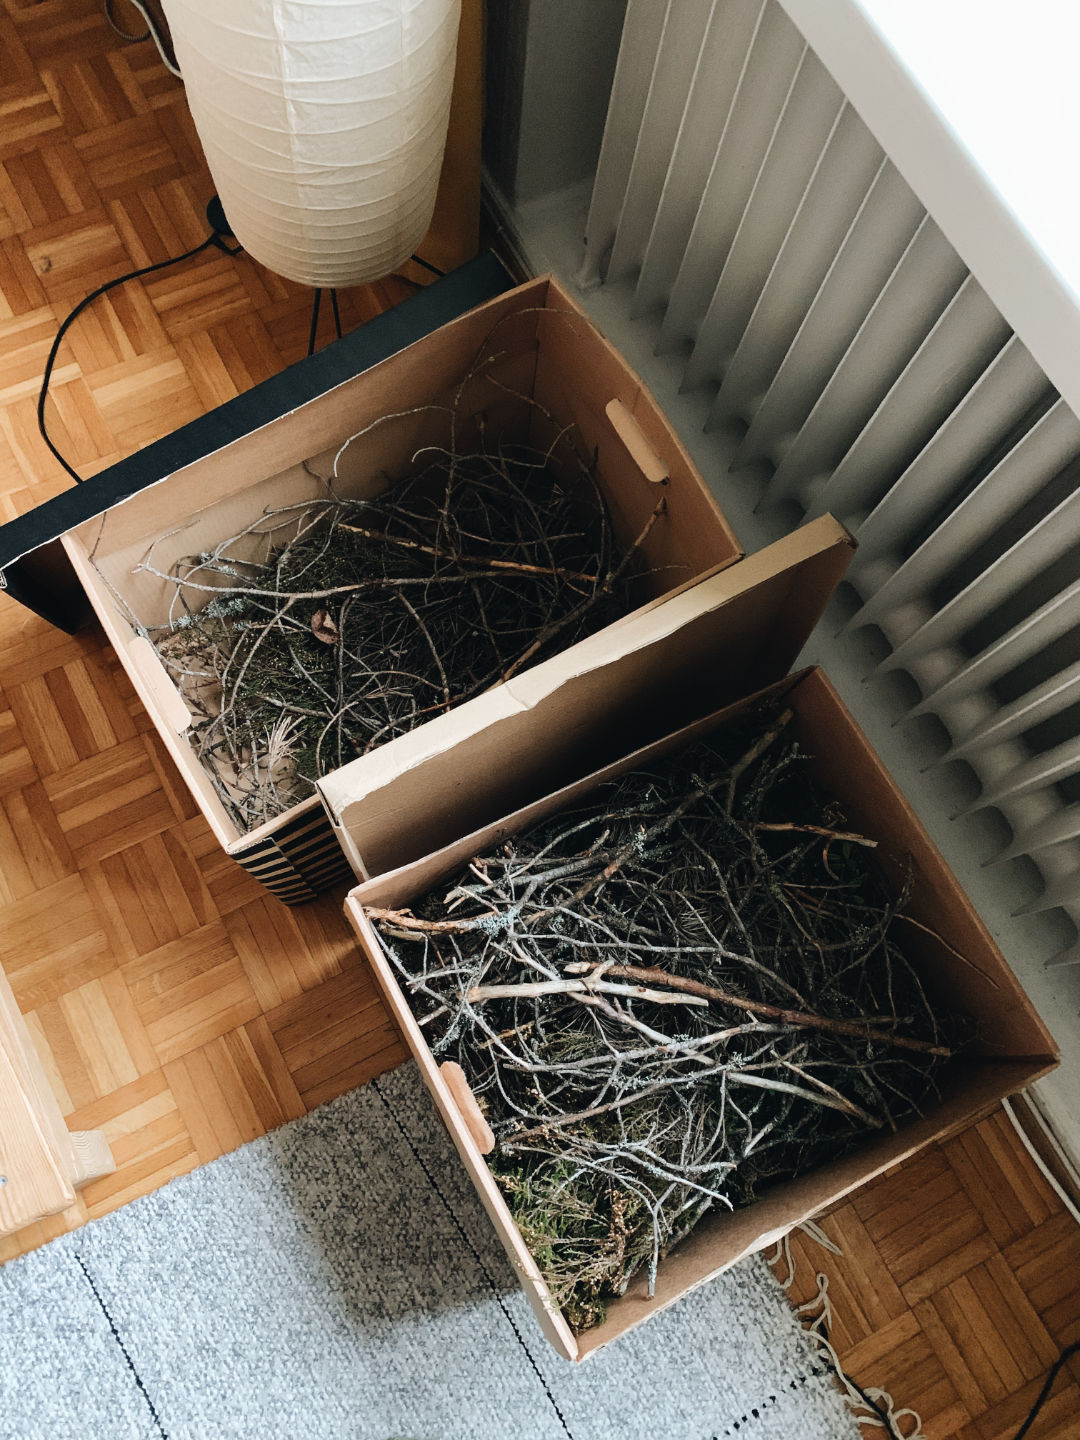
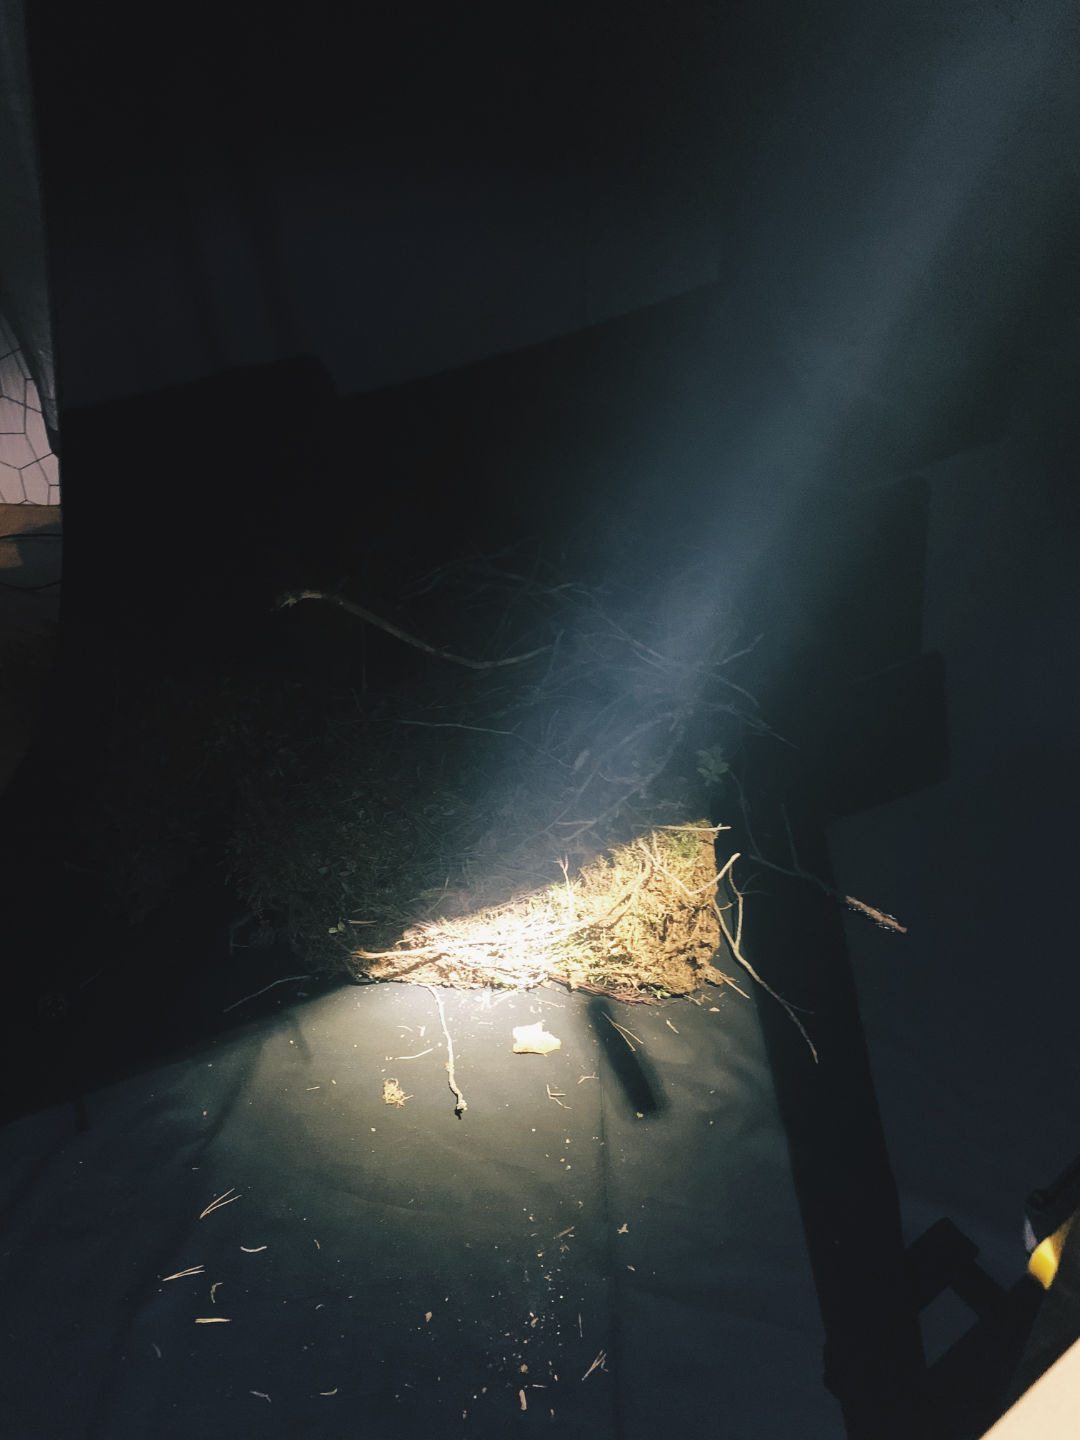
Step 4: build the set
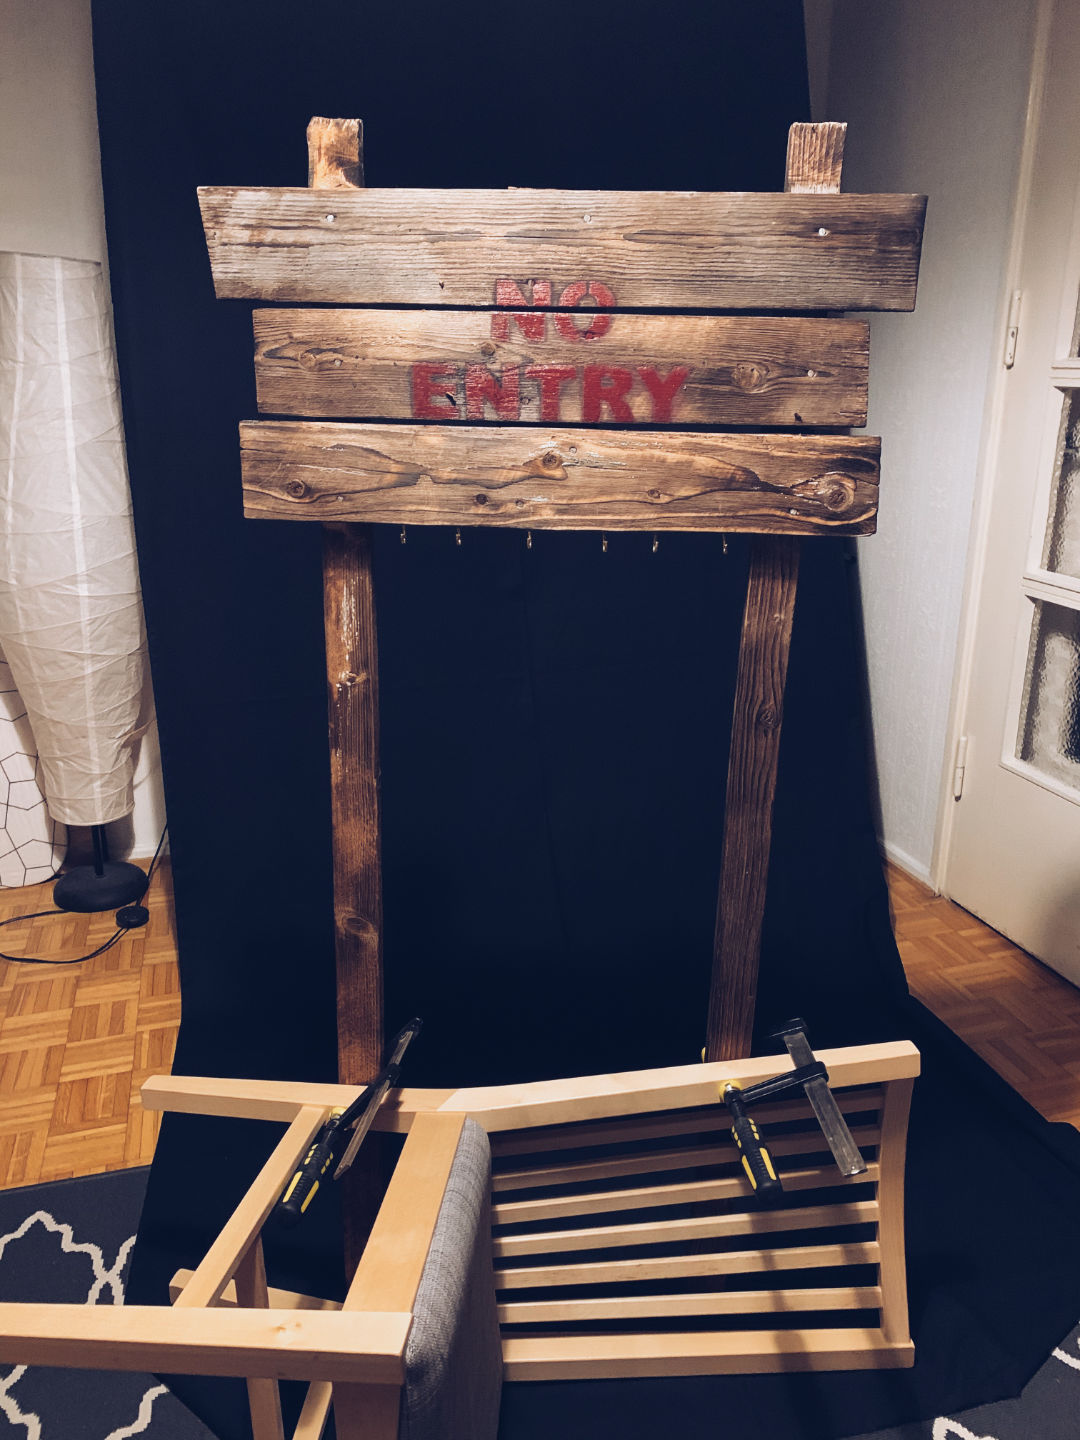
Step 5: match the original footage
It took some careful inspection of the original shots to find out a good angle, figure out the placement of certain objects and whether they were moving or not so that the new shot could be seamlessly inserted into the edit.
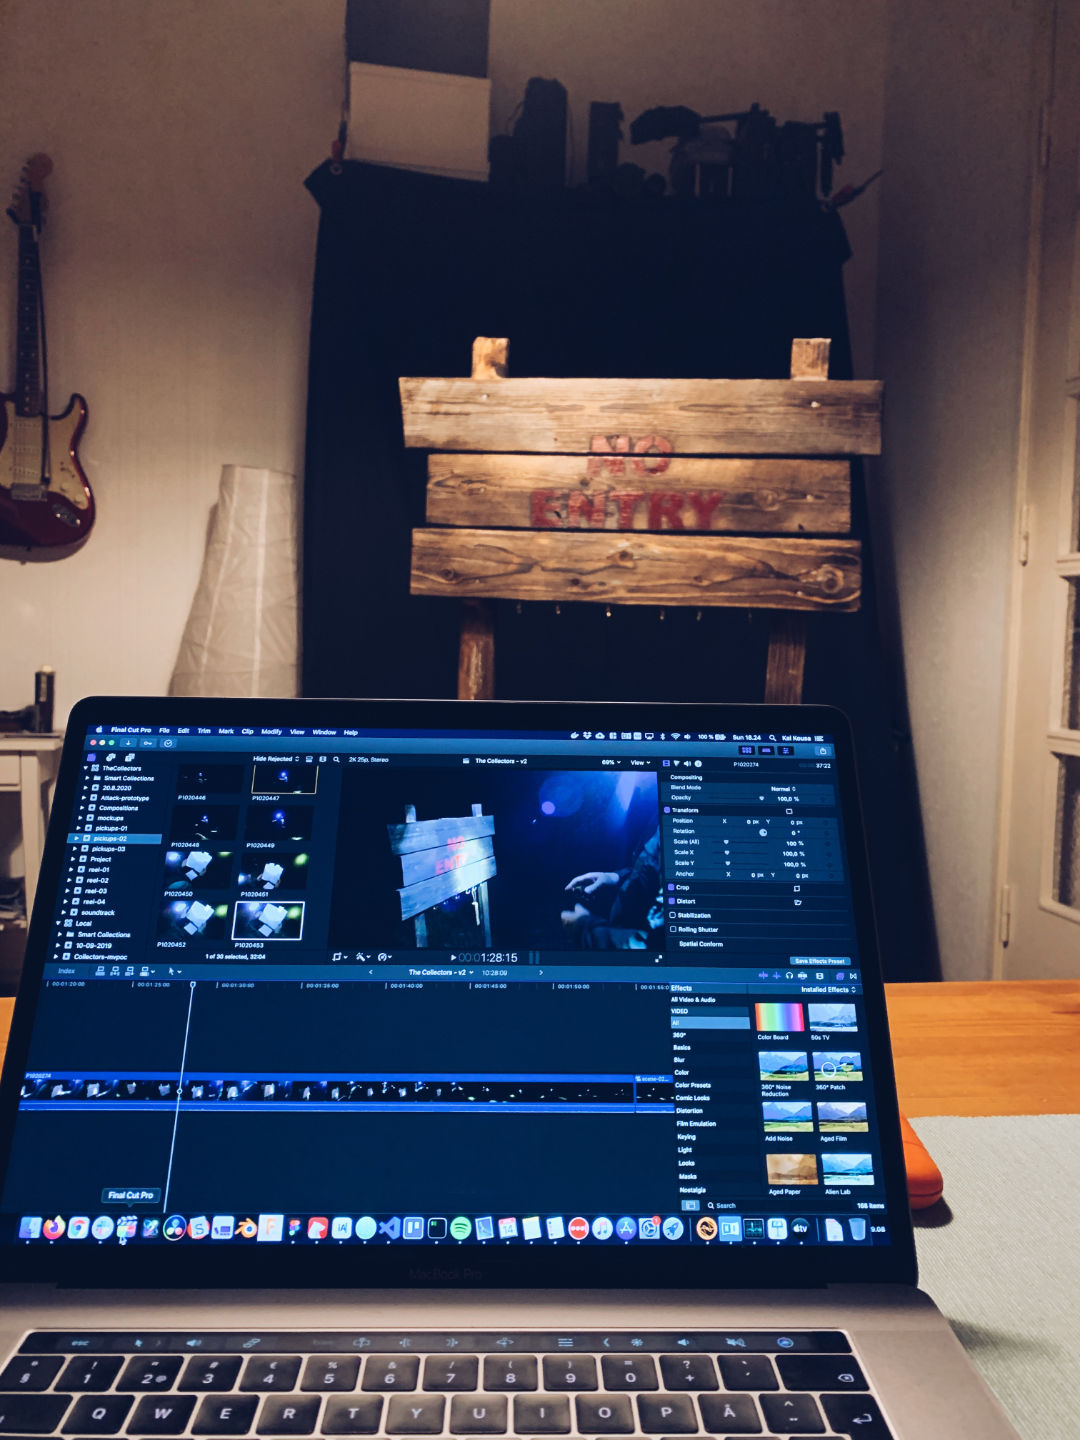
Step 6: bring in the smoke
To really sell the feeling of outdoors and forest at night you need to add some atmospherics. When we were shooting there was always some little fog or mist in the air and the light would be diffused in very beautiful ways. In order to give the right impression I flooded the apartment with extra thick smoke from a cheap smokemachine. It took a couple of tries to get to the right density but in the end we managed to find the balance. On one shot we forgot to add the smoke and when we tried adding the non-smoking shot into the edit it just didn’t work and it popped out too much from the rest of the footage by looking way too clear and pristine. That was quickly fixed by a reshoot with more smoke.
The apartment had a pretty heavy Forest of Fangorn / Blade Runner vibe during the shoot 😅
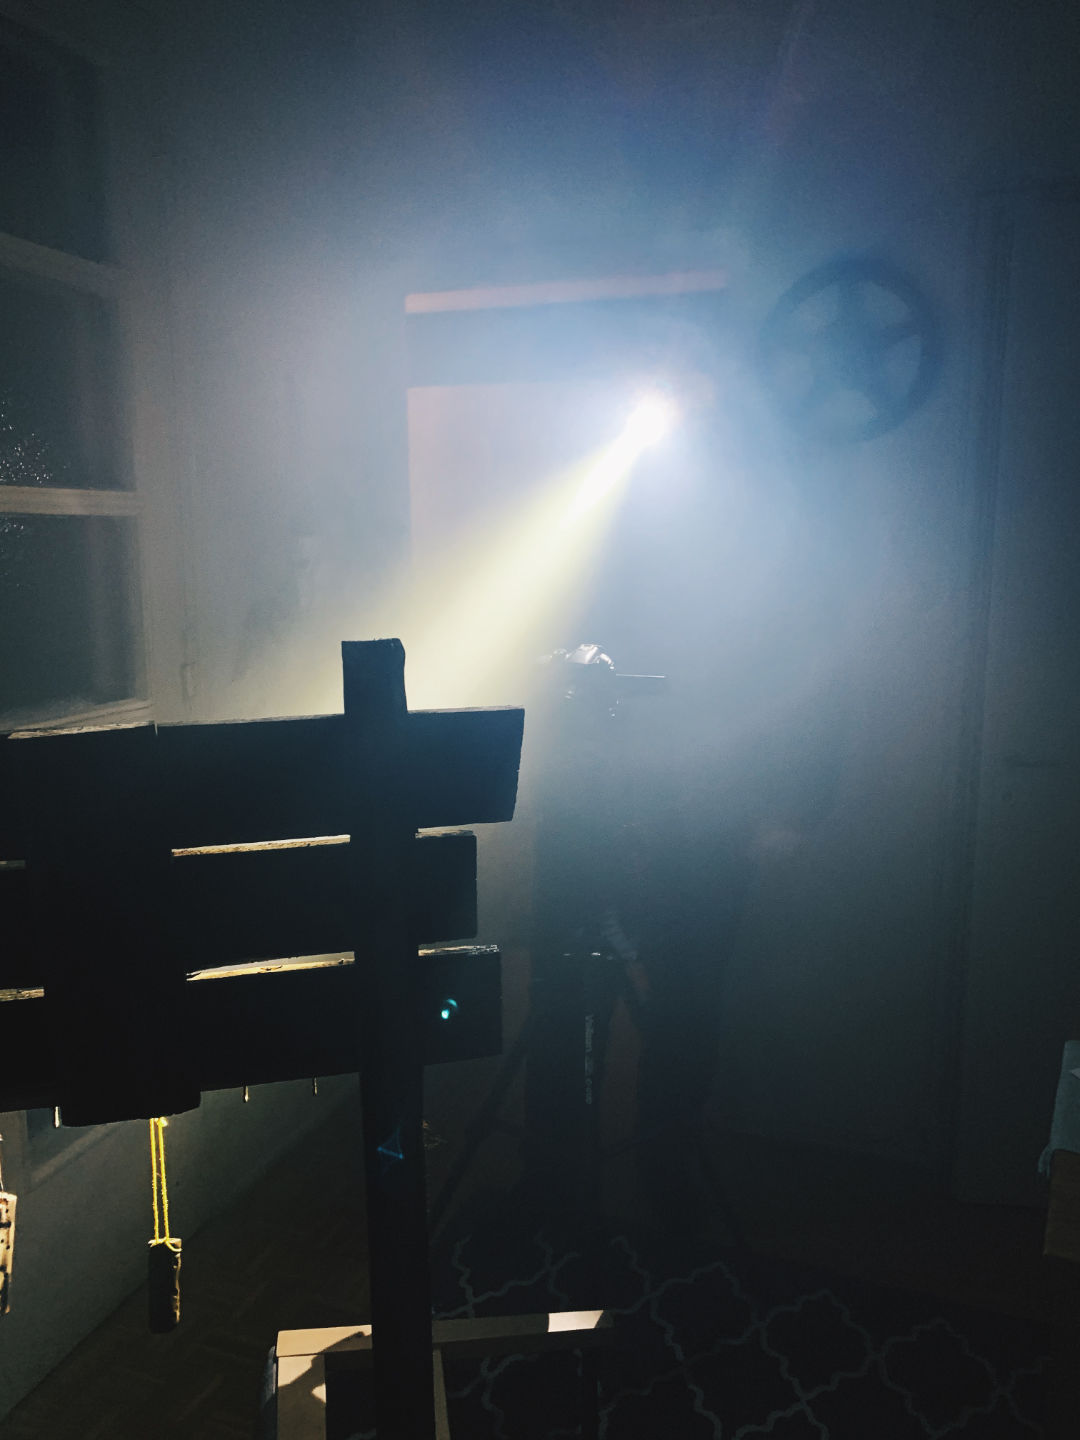
Final thoughts
I wasn’t 100% sure that this would work but in the end it did and shockingly well even though there were plenty of variables against it like the reflections of white walls adding many times more light than in the real setting. I had to shoot with ISO 200 in this case compared to the ISO 1600 most of the time in the forest so that gives some idea on how much white walls amplified the light.
What I really enjoyed was the ability to see almost instantly if a shot worked before moving on. After a few takes of each shot I would load the footage on my laptop and quickly edit the shot and if it looked right then we would just move onto the next shot feeling confident that we had nailed the previous one.
Very curious if anyone will be able to spot these new shots. There are now many layers of footage in the project, some from the original shoot in the end of August, lots from the reshoots in September, some shots from very late October and now indoor-outdoor shots from March.